How to use it
Now that you know ProSheets and have installed it, let’s learn some good practices for using it. These tips can help you improve your work and save a lot of time.
Table of contents
- Collapse and Expand window
- Resize Window
- Select multiple rows
- Double-click and Drag and Drop
- Right-click on the column header
- Right-click on the row
Collapse and Expand window
ProSheets plugin allow you to work with Revit while keeping the plugin window open, but you can get more space to work with Revit. All you have to do is double-clik on the window header to Collapse and Expand it.
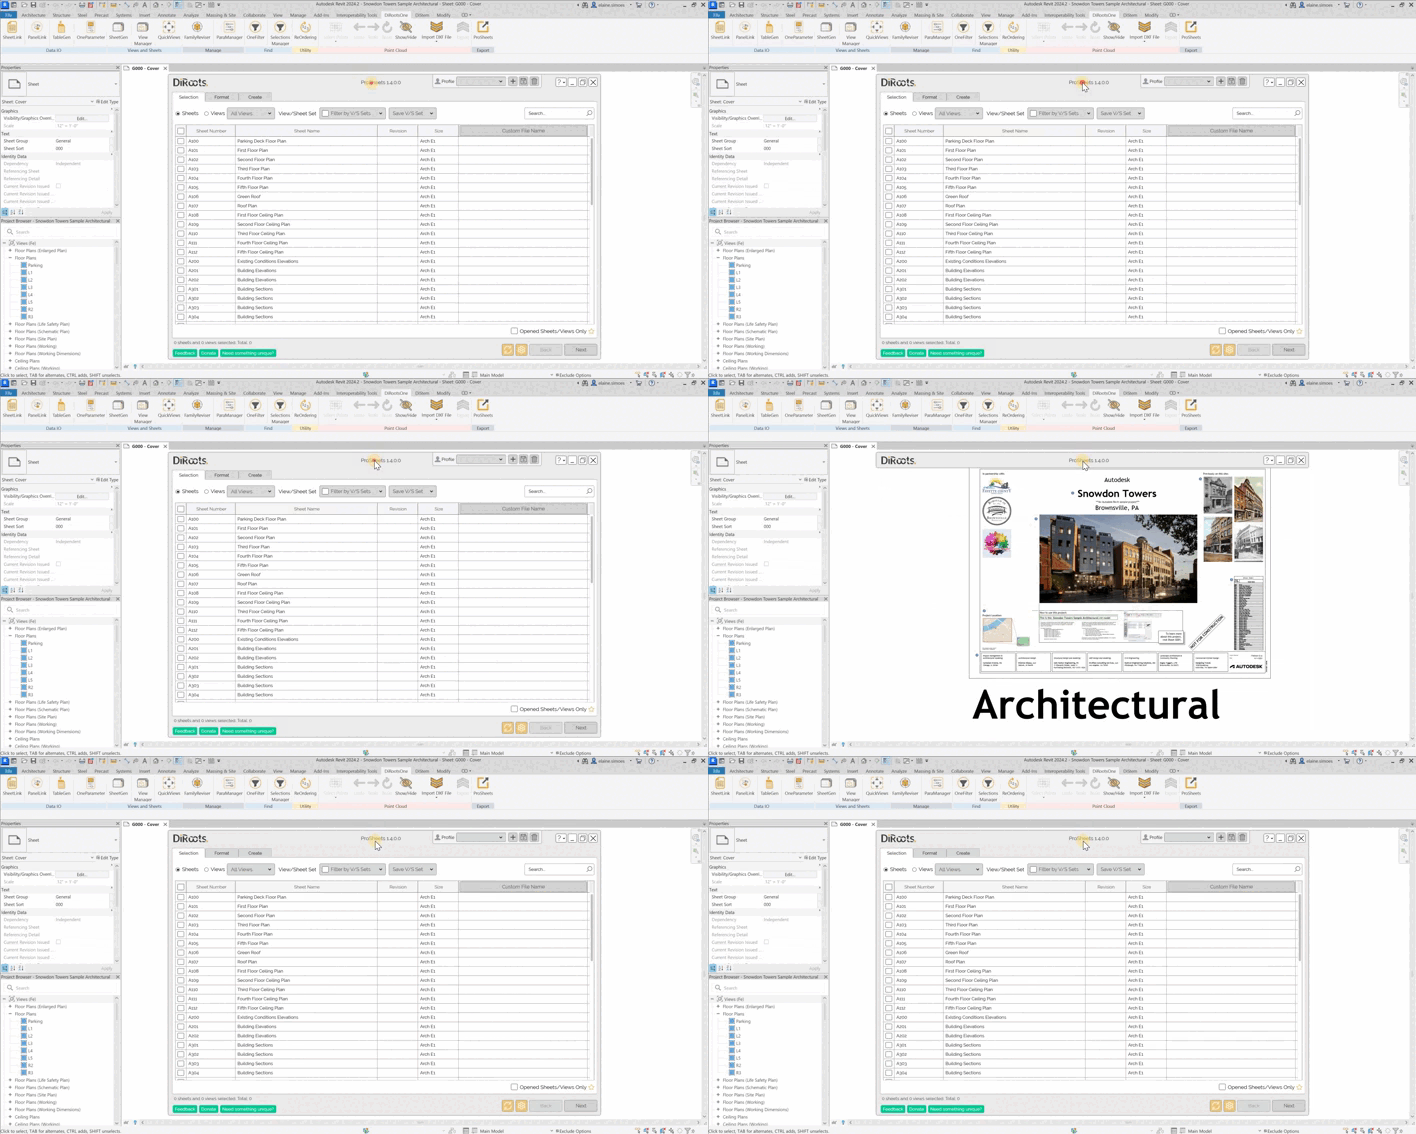
Note: the version on the image may not reflect the latest version of ProSheets.
Resize Window
Mouse over the edges of the window and click and drag to extend or reduce the window. Note that, there is a limit to how much you can reduce the window, to ensure that all the information in the window is displayed.
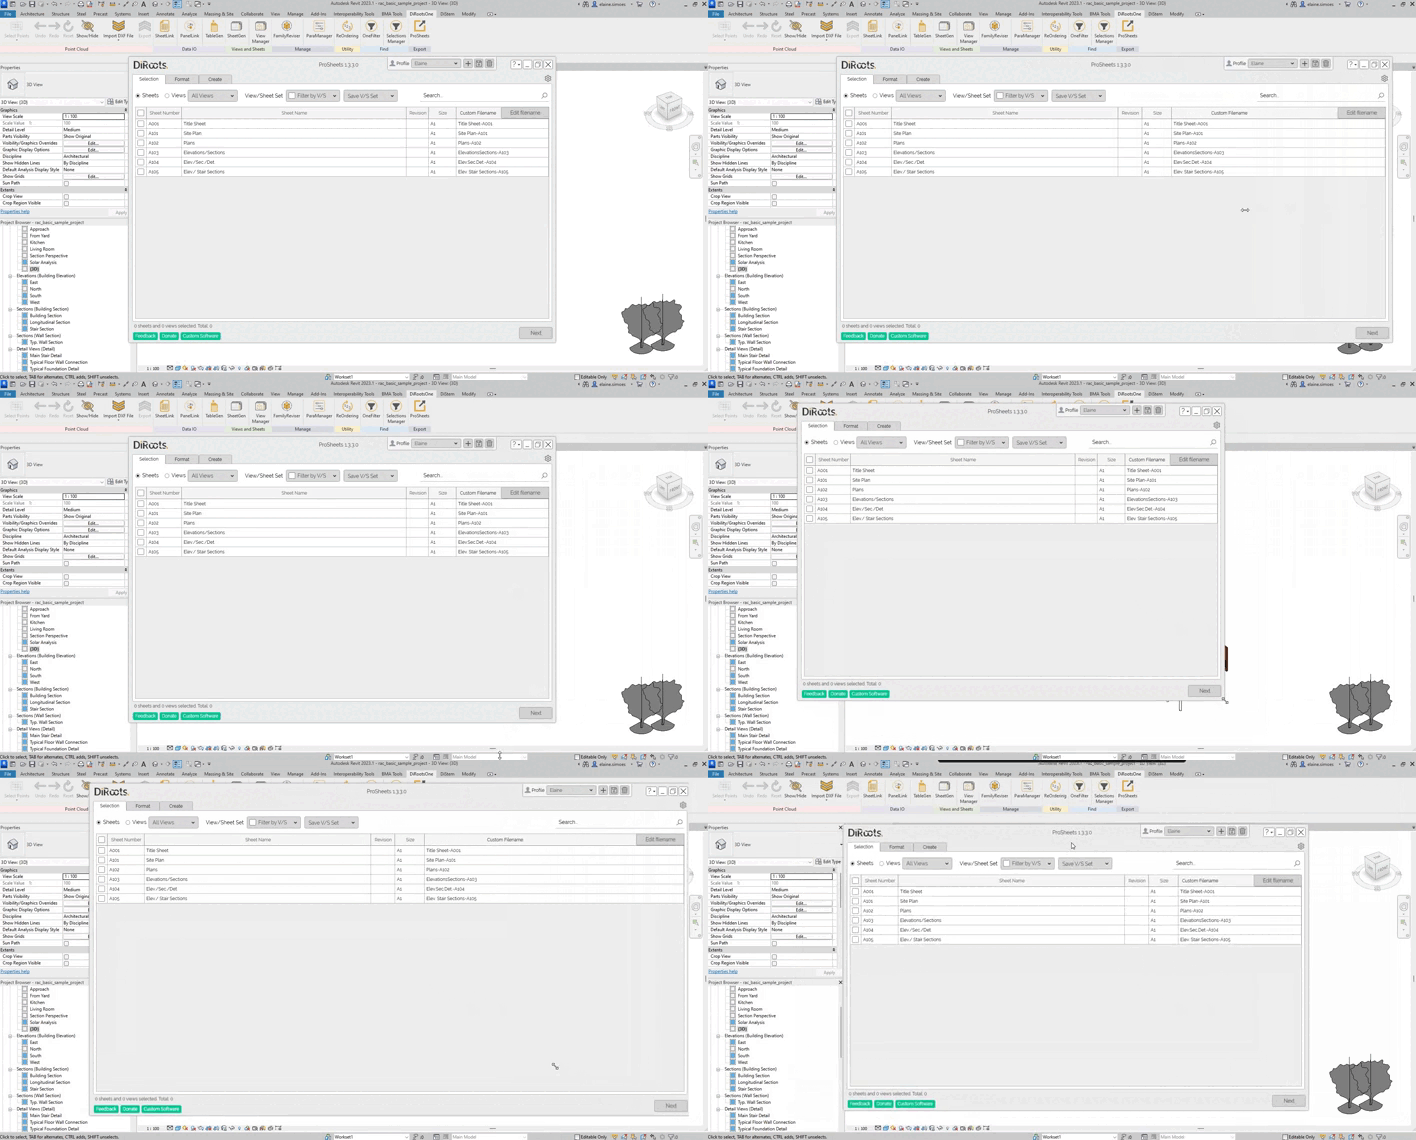
Note: the version on the image may not reflect the latest version of ProSheets.
Select multiple rows
ProSheets plugins have a great advantage for making bulk actions and saving time. To make this task simpler, you don’t need to select row per row, just select one and press the Shift button in your keyboard and then select the last row. Now you have several rows selected to perform the batch actions.
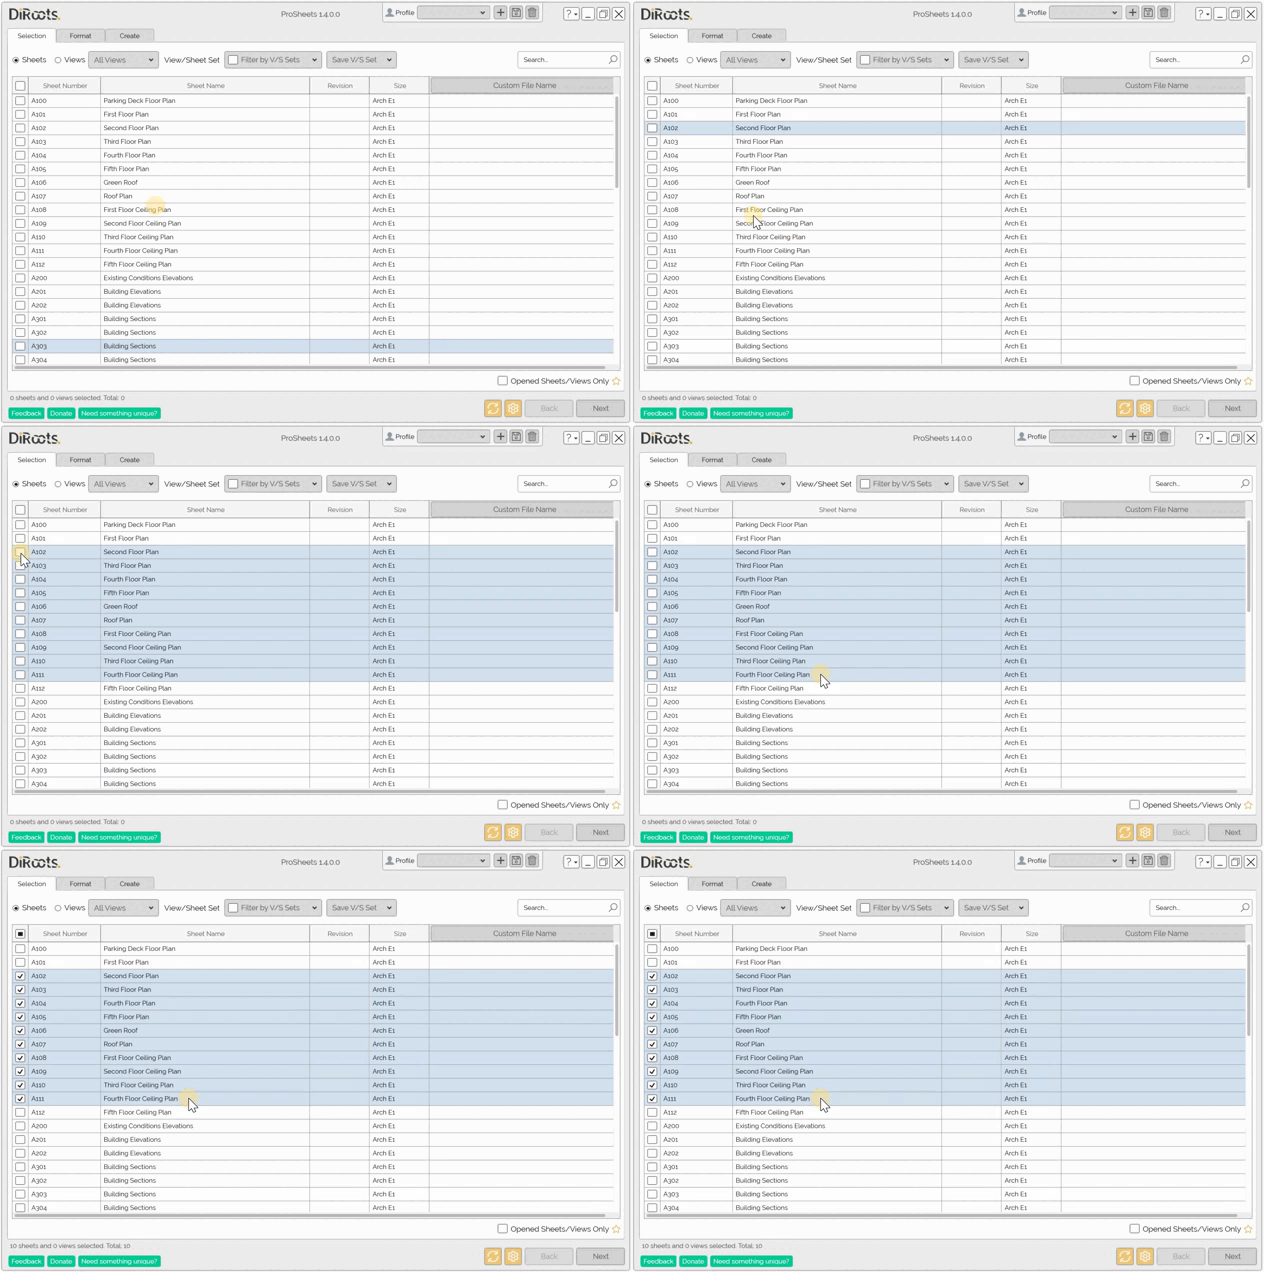
Note: the version on the image may not reflect the latest version of ProSheets.
Double-click and Drag and Drop
Double-click or drag and drop do add or remove parameters to edit File Name.
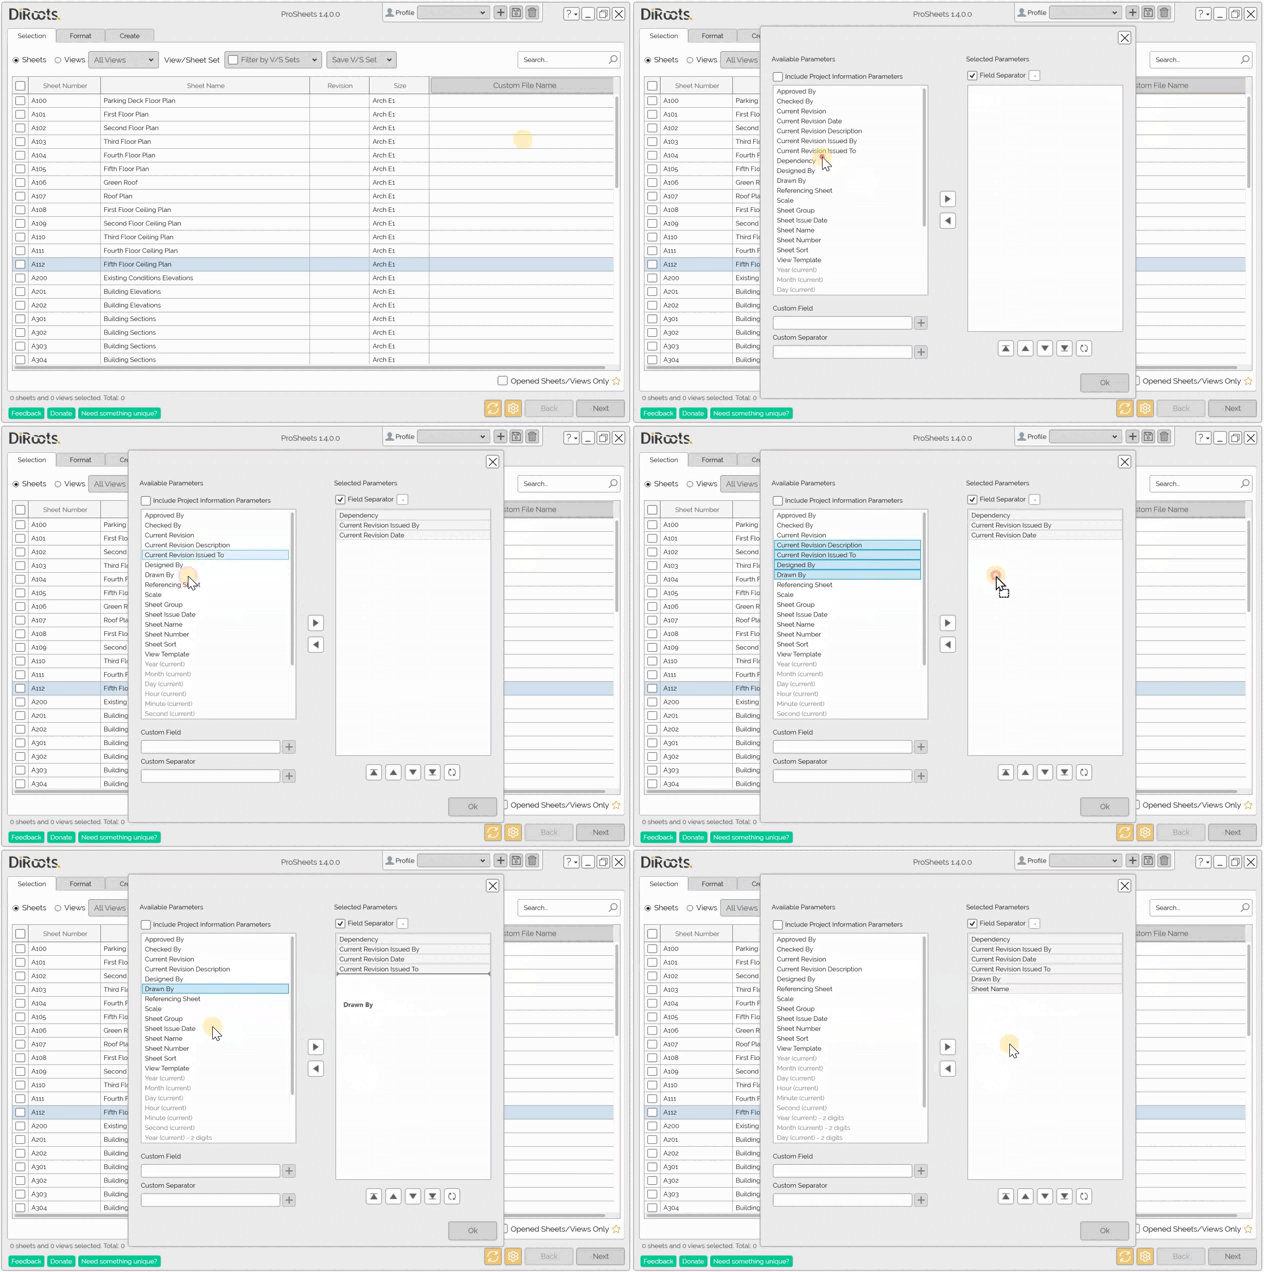
Note: the version on the image may not reflect the latest version of ProSheets.
Right-click on the column header
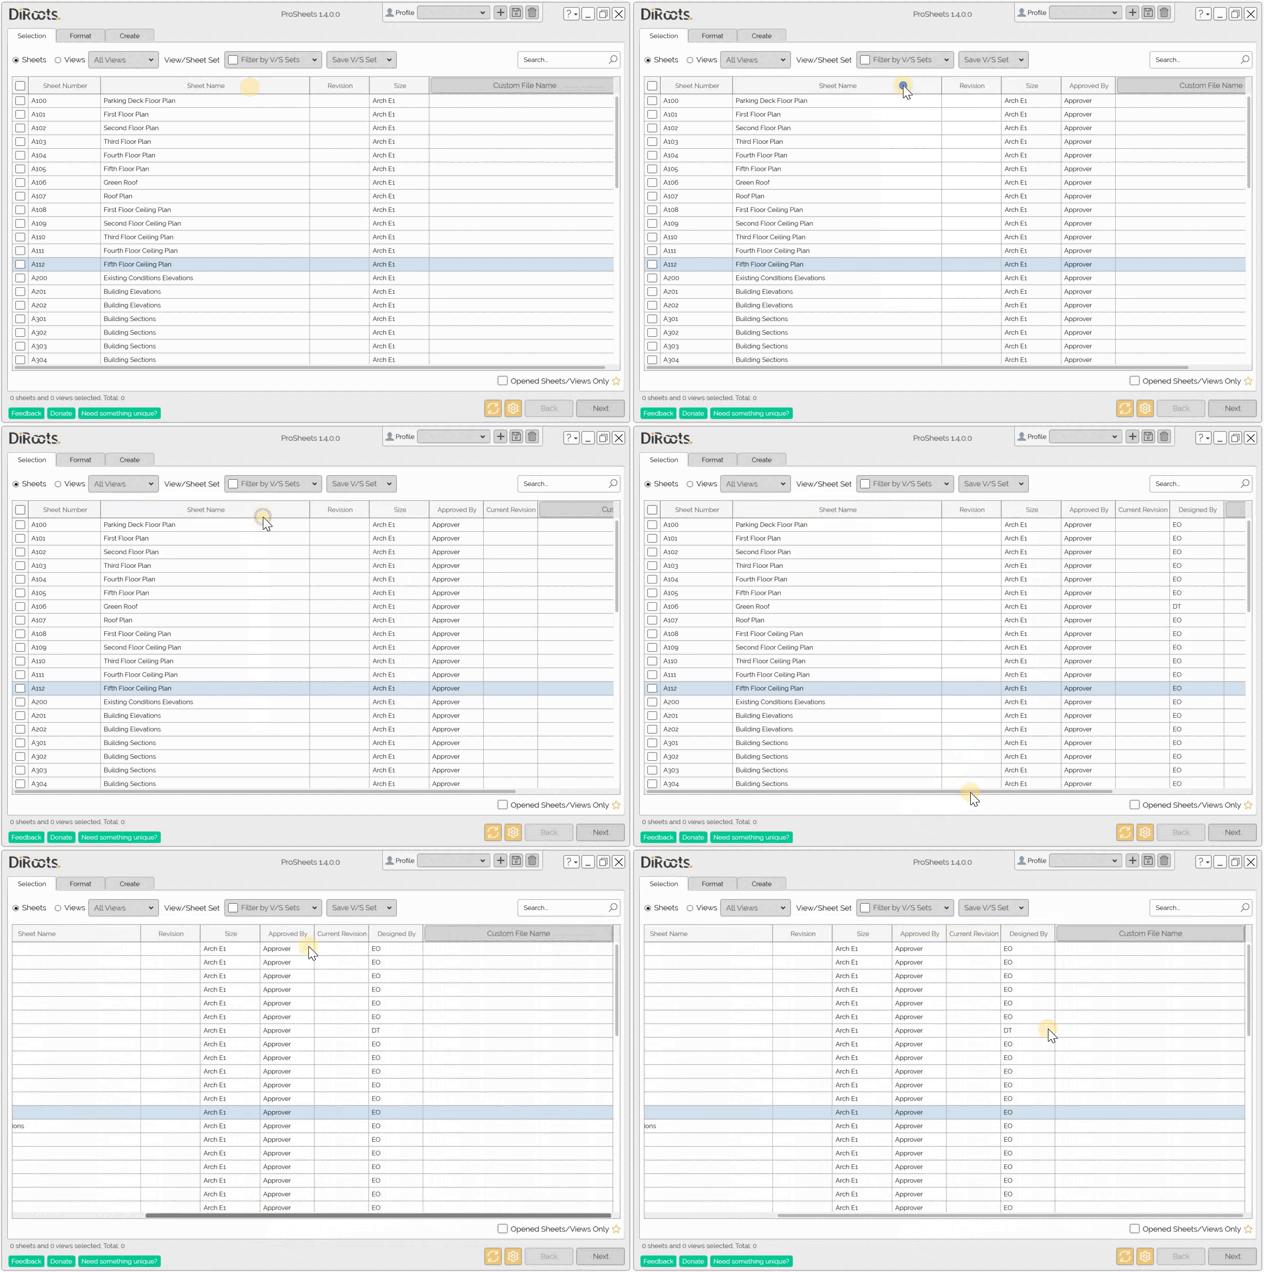
Right-click on the column header and select properties/parameters to create a new column.
Note: the version on the image may not reflect the latest version of ProSheets.
Right-click on the row
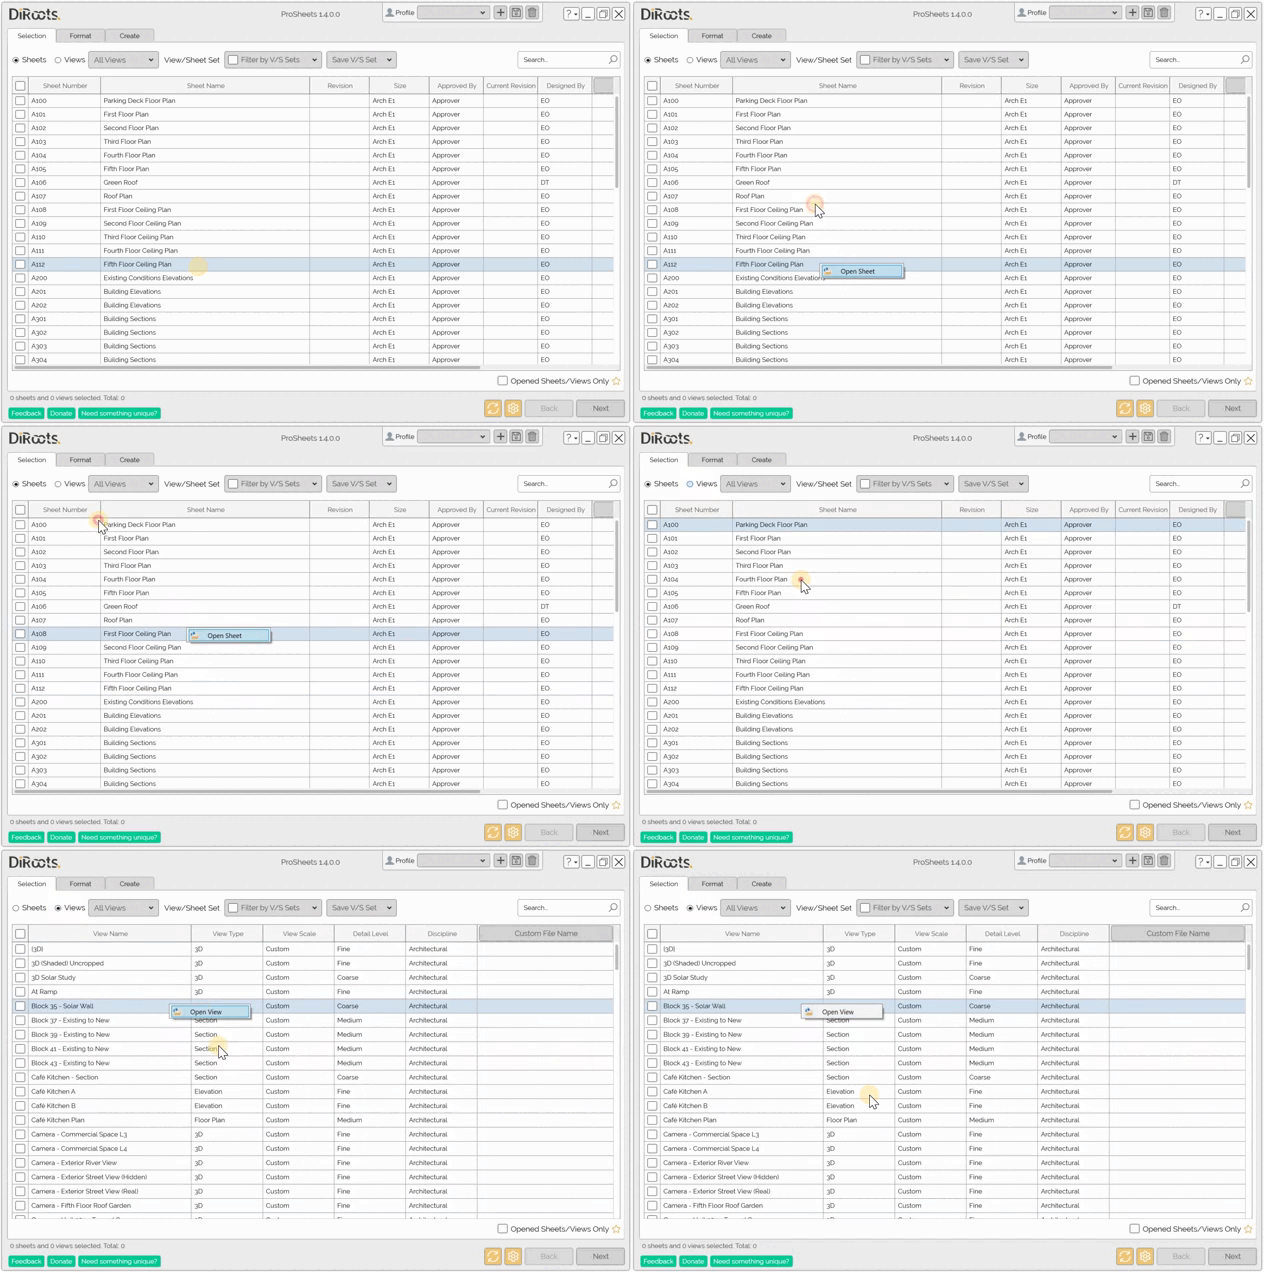
Right-click on the sheet and open it.
Note: the version on the image may not reflect the latest version of ProSheets.