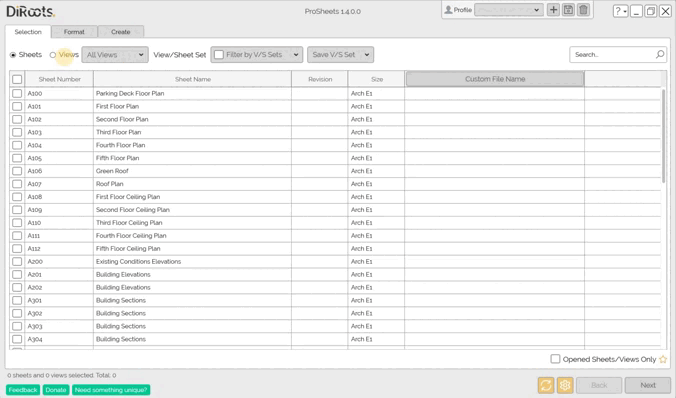
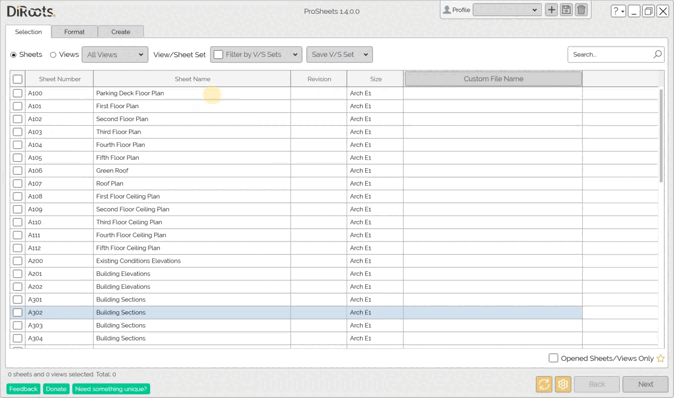
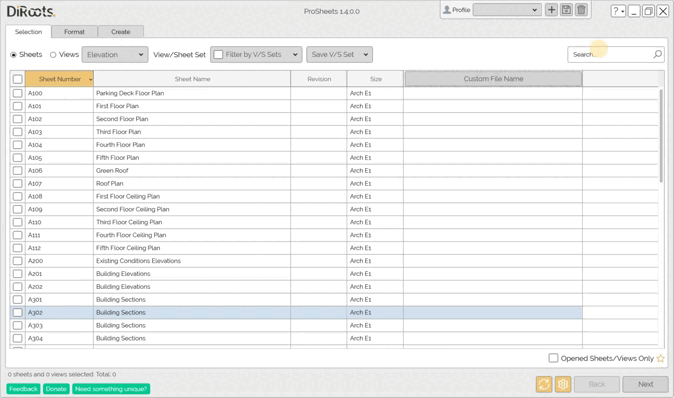
Selection Tab
The Selection tab is where you’ll select the sheets and views to be exported and the file naming rules. ProSheets has options to sort, filter, and search to ease the selection. Plus, it has an advanced naming rule builder that allows you to customize the filenames.
Table of contents
Select Sheets and Views or View/Sheet Sets
The first step is to select the sheets and views to be exported.
Steps:
- Click radio buttons to switch between sheets and views. fsdfsdfs
The 'Sheets' radio button will show the existing sheets in the project.
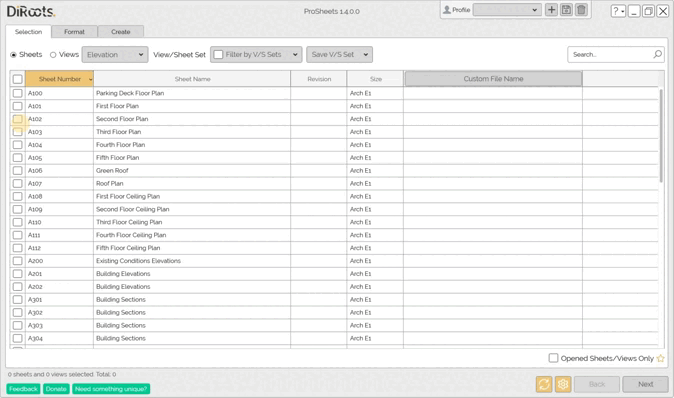
The 'Views' radio button will show the existing views in the project.
- Use the checkboxes to select specific sheets/views or use the checkbox in the table header to select all sheets/views.
Note: the version on the image may not reflect the latest version of ProSheets.
- Select the “Opened Sheets/Views Only” option to filter only the list of open sheets and views.
Note: the version on the image may not reflect the latest version of ProSheets.
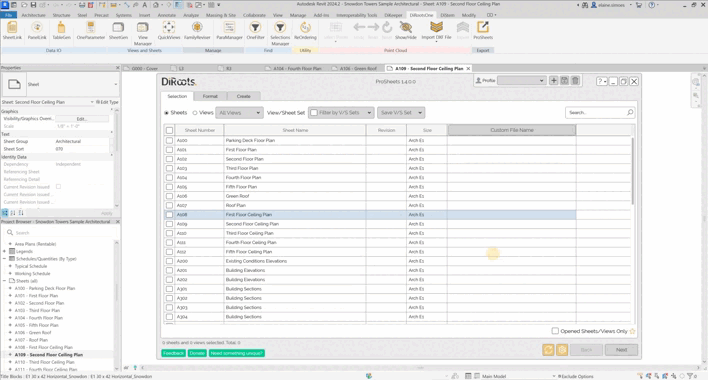
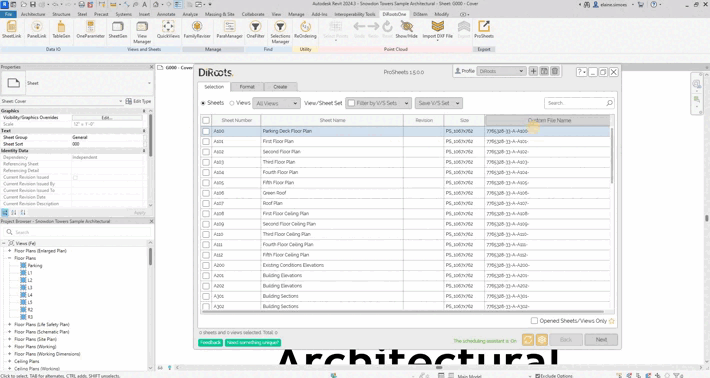
Add Parameters columns
Right-click on the table header to select any other instance parameter available on your sheets. Examples - Current Review Date, Approved By, Appears on Sheet List, etc.
Note: the version on the image may not reflect the latest version of ProSheets.
Filter
Filtering options available:
- Dropdown to filter by view type (e.g., 3D, Floor Plan, Section, Detail, etc.).

Note: the version on the image may not reflect the latest version of ProSheets.
- Select several sheets/views and save new sets for filtering.
Note: the version on the image may not reflect the latest version of ProSheets.
Search
The search box will search for text contained in any of the existing columns (including the customizable column).
For example, you can find Sheets by:
- Sheet Number
- Sheet Name
- Revision
- Size (e.g., A1, A0, etc.)
- Any instance parameter available in the customizable column
- Custom filename
For example, you can find Views by:
- View Name
- Scale
- Detail Level
- Discipline
- Custom filename
Note: the version on the image may not reflect the latest version of ProSheets.
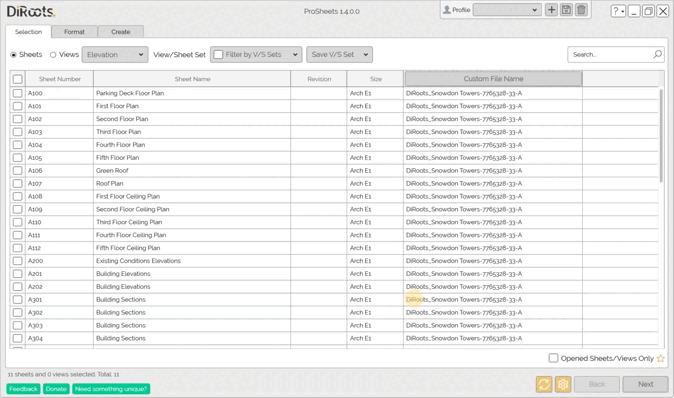
Custom File Name
The custom file name builder allows you to quickly set how you want your files to be named.
Main features:
- Parametric filenaming (using Sheet/View and Project Information parameters)
- Set custom fields Separators (e.g., SheetName-ShetNumber_Rev1)
- Custom Prefix and SUffix
- Other non-Revit parameters (e.g., Current Month, Day, Hour, etc.)
- Custom Name Preview
Note: the version on the image may not reflect the latest version of ProSheets.
Clear selection
Quickly clear the current selection.
Advanced Settings
Set some advanced settings as defaults for your prints, using the radio button to set the desired setting.
- Temporary Hide/Isolate
- Turn off the temporary Hide/Isolate mode before printing
- Leave the temporary Hide/Isolate mode and print
- Worksharing Display
- Turn off the Worksharing Display mode before printing
- Leave the Worksharing Display mode on and print
- Reveal Hidden elements
- Turn off the Reveal Hidden Elements mode before printing
- Leave the Reveal Hidden Elements mode on and print
- Reveal Constraints
- Turn off the Reveal Constraints mode before printing
- Leave the Reveal Constrains mode on and print
Note: the version on the image may not reflect the latest version of ProSheets.
Let’s move on to the next step. After selecting the sheets/views you want, click on “Next” to go to the print format settings.